CapCut Safe Zone Overlay
Free CapCut Safe Zone Overlay
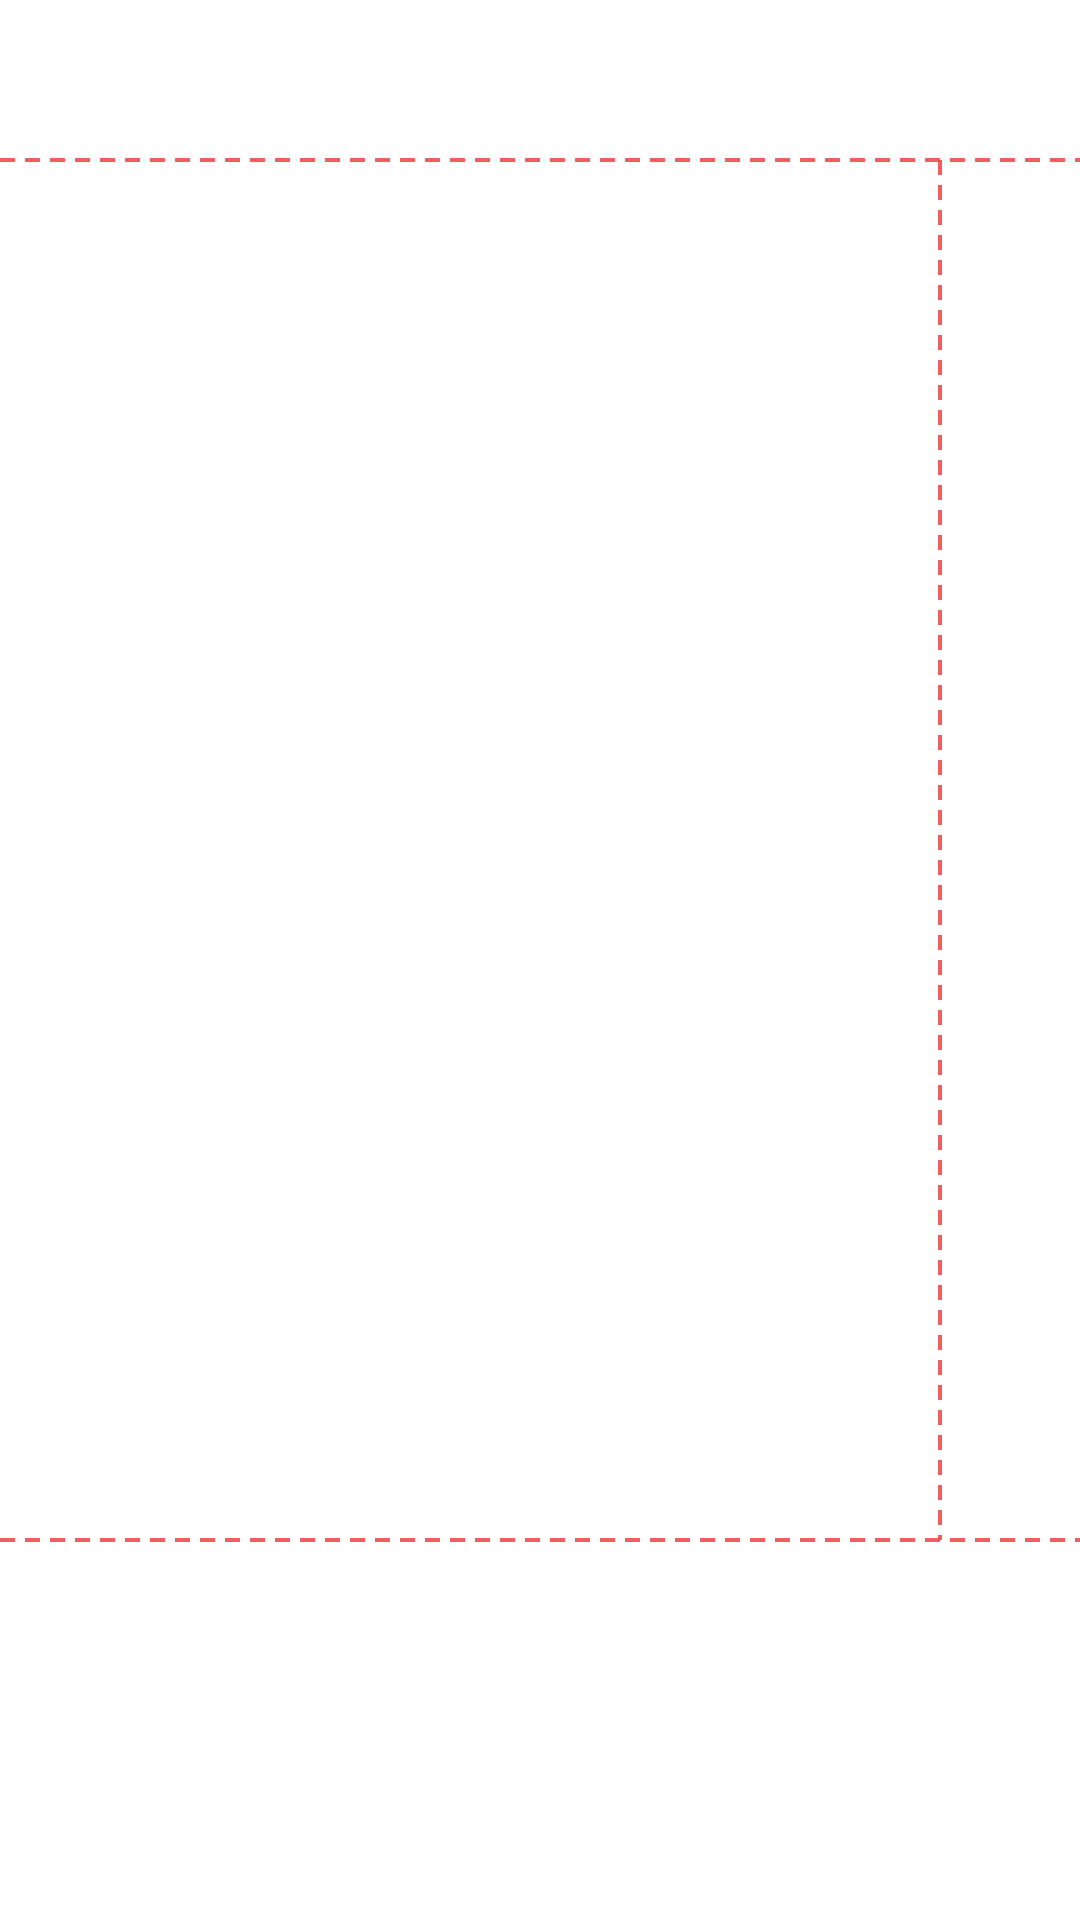
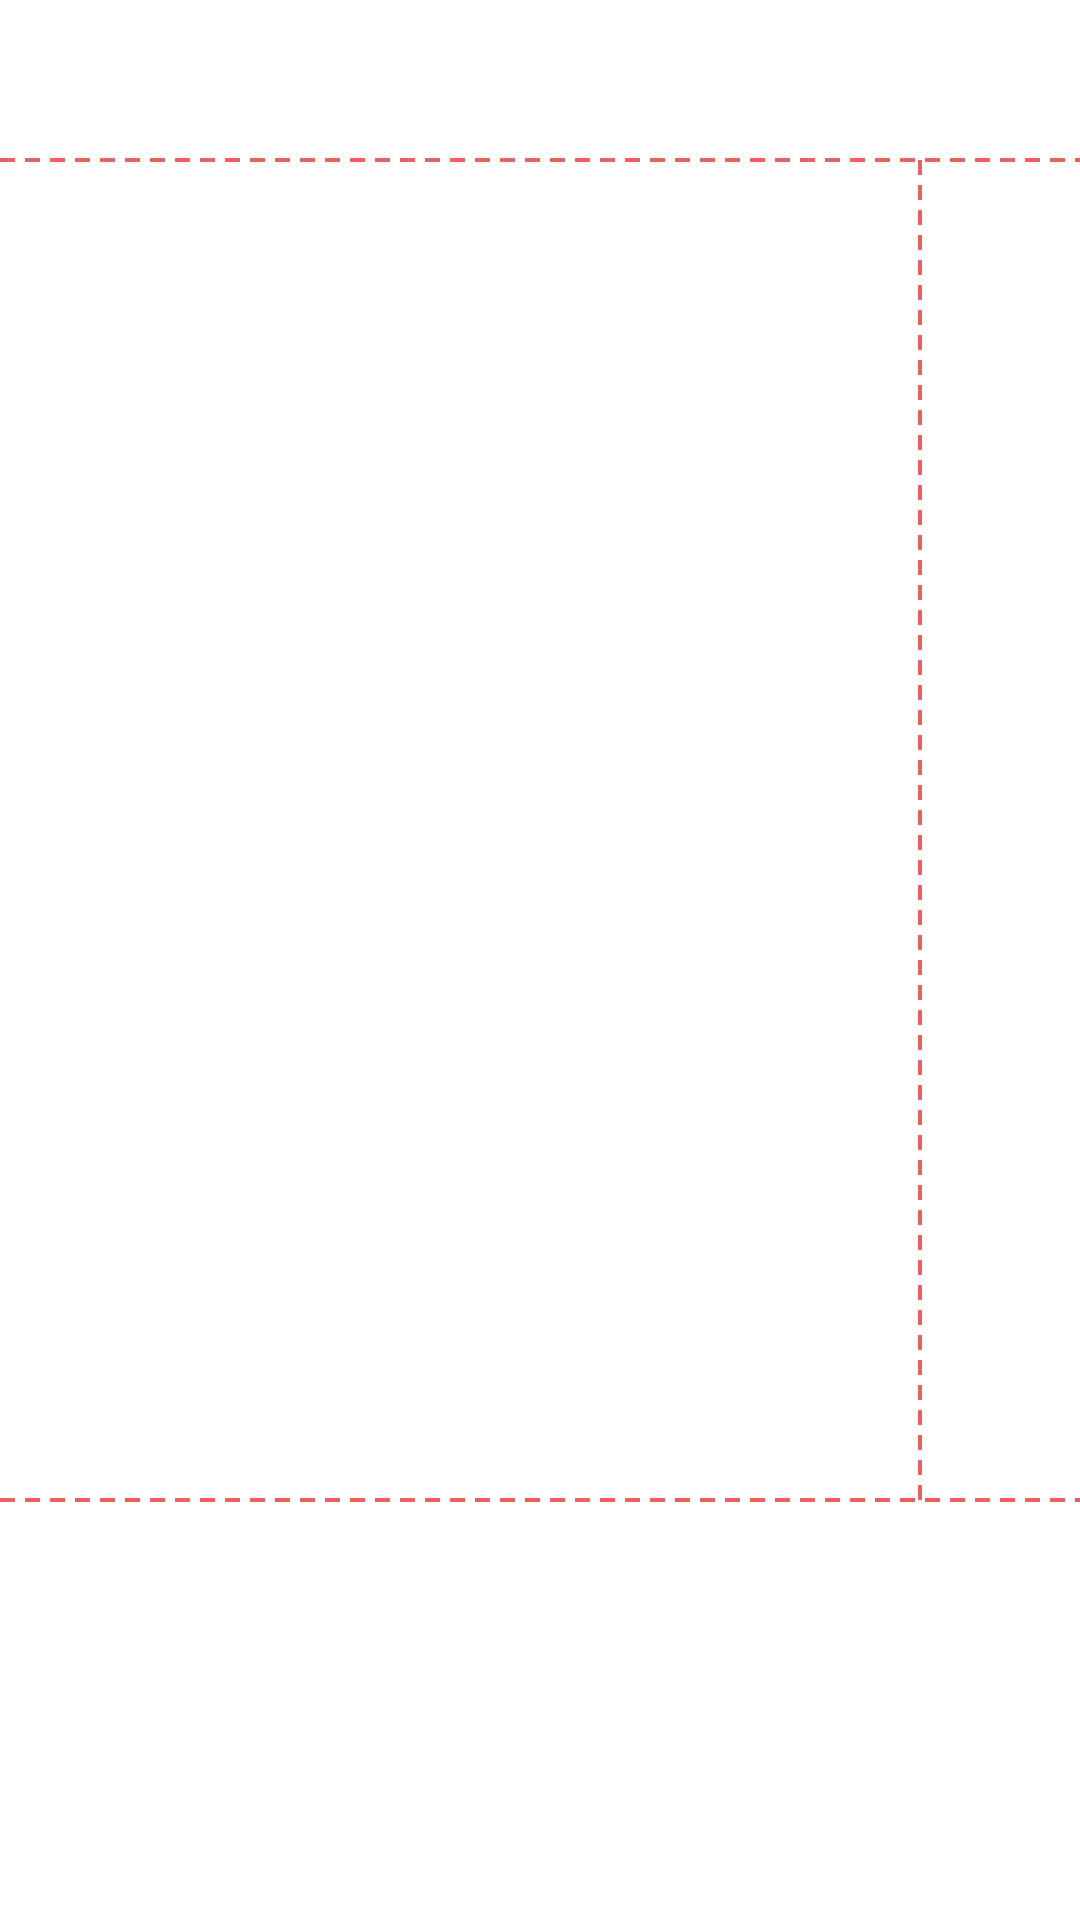
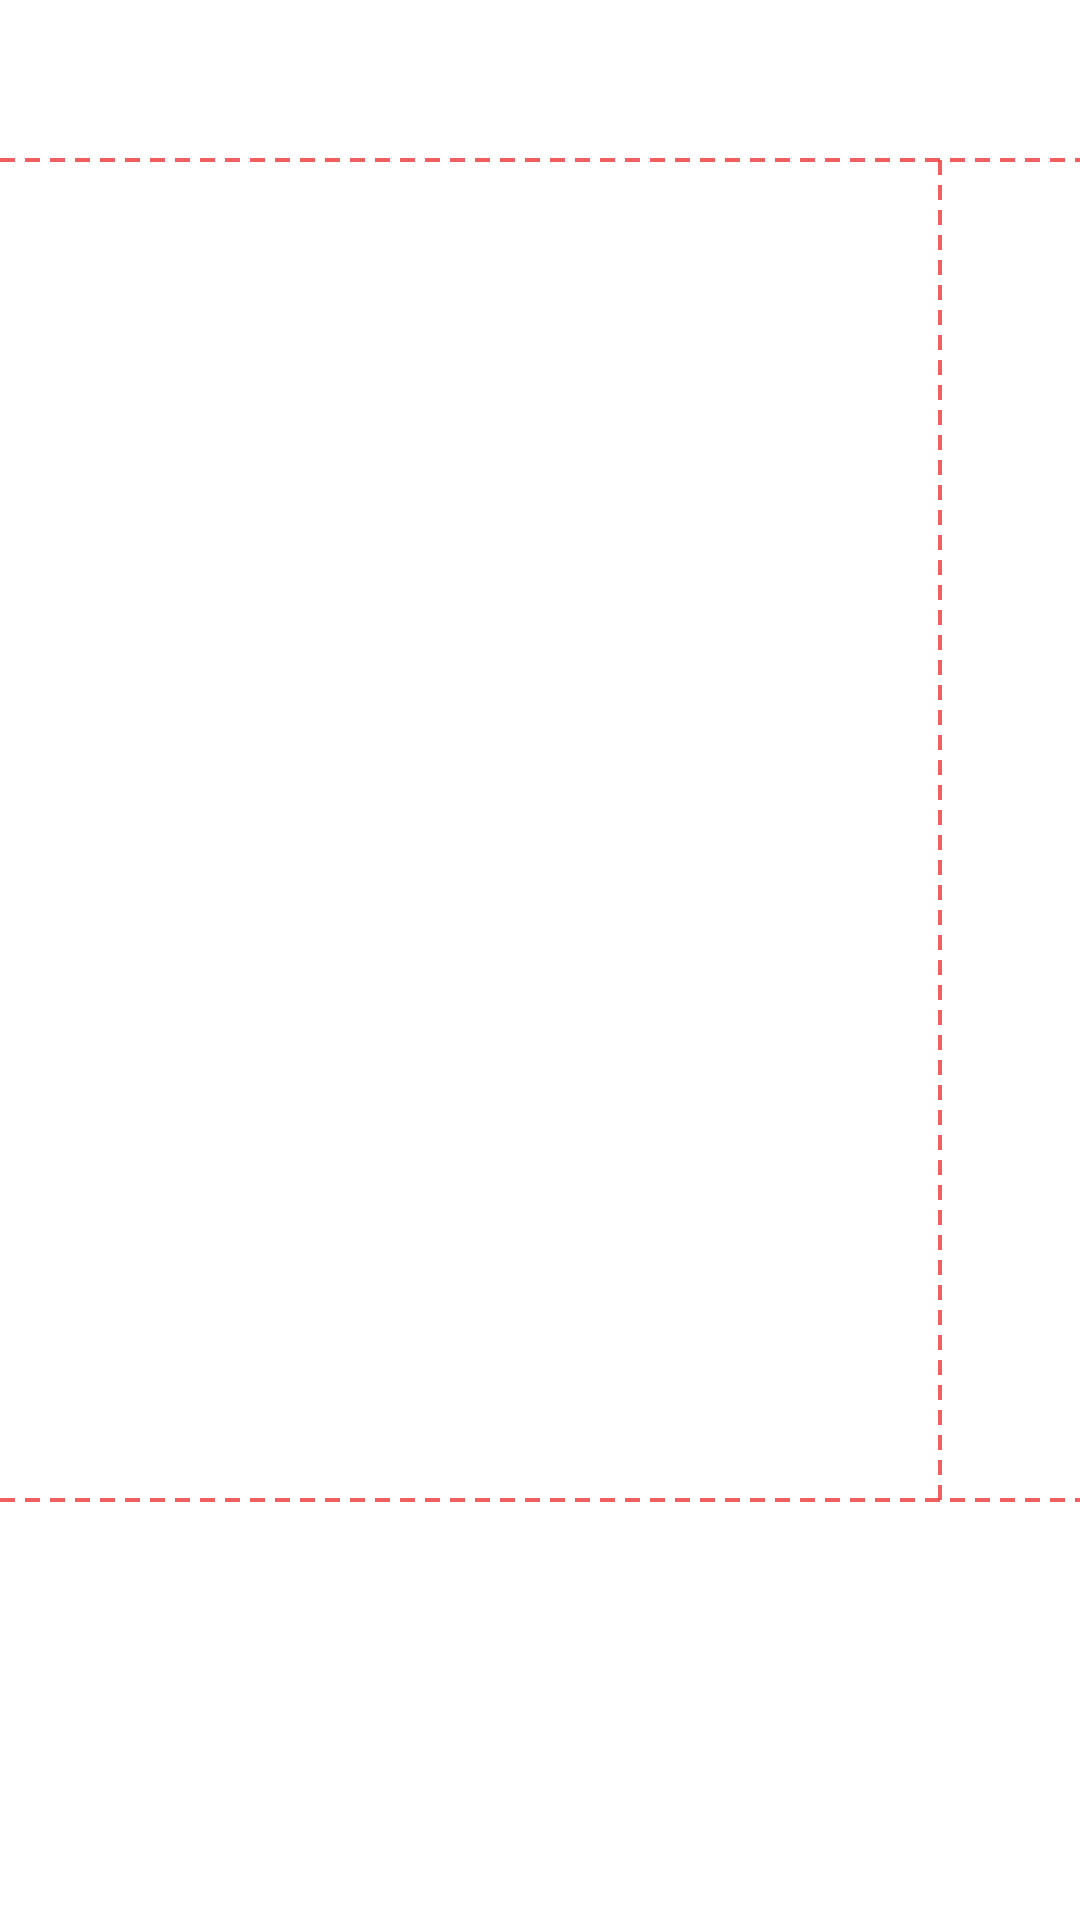
Download a free transparent PNG safe zone overlay for any platform and add it as an overlay track in CapCut. Preview your design using the tool below, then download the overlay that matches your target platform.
Download Your Overlay
Download All Platforms — Free ZIP Pack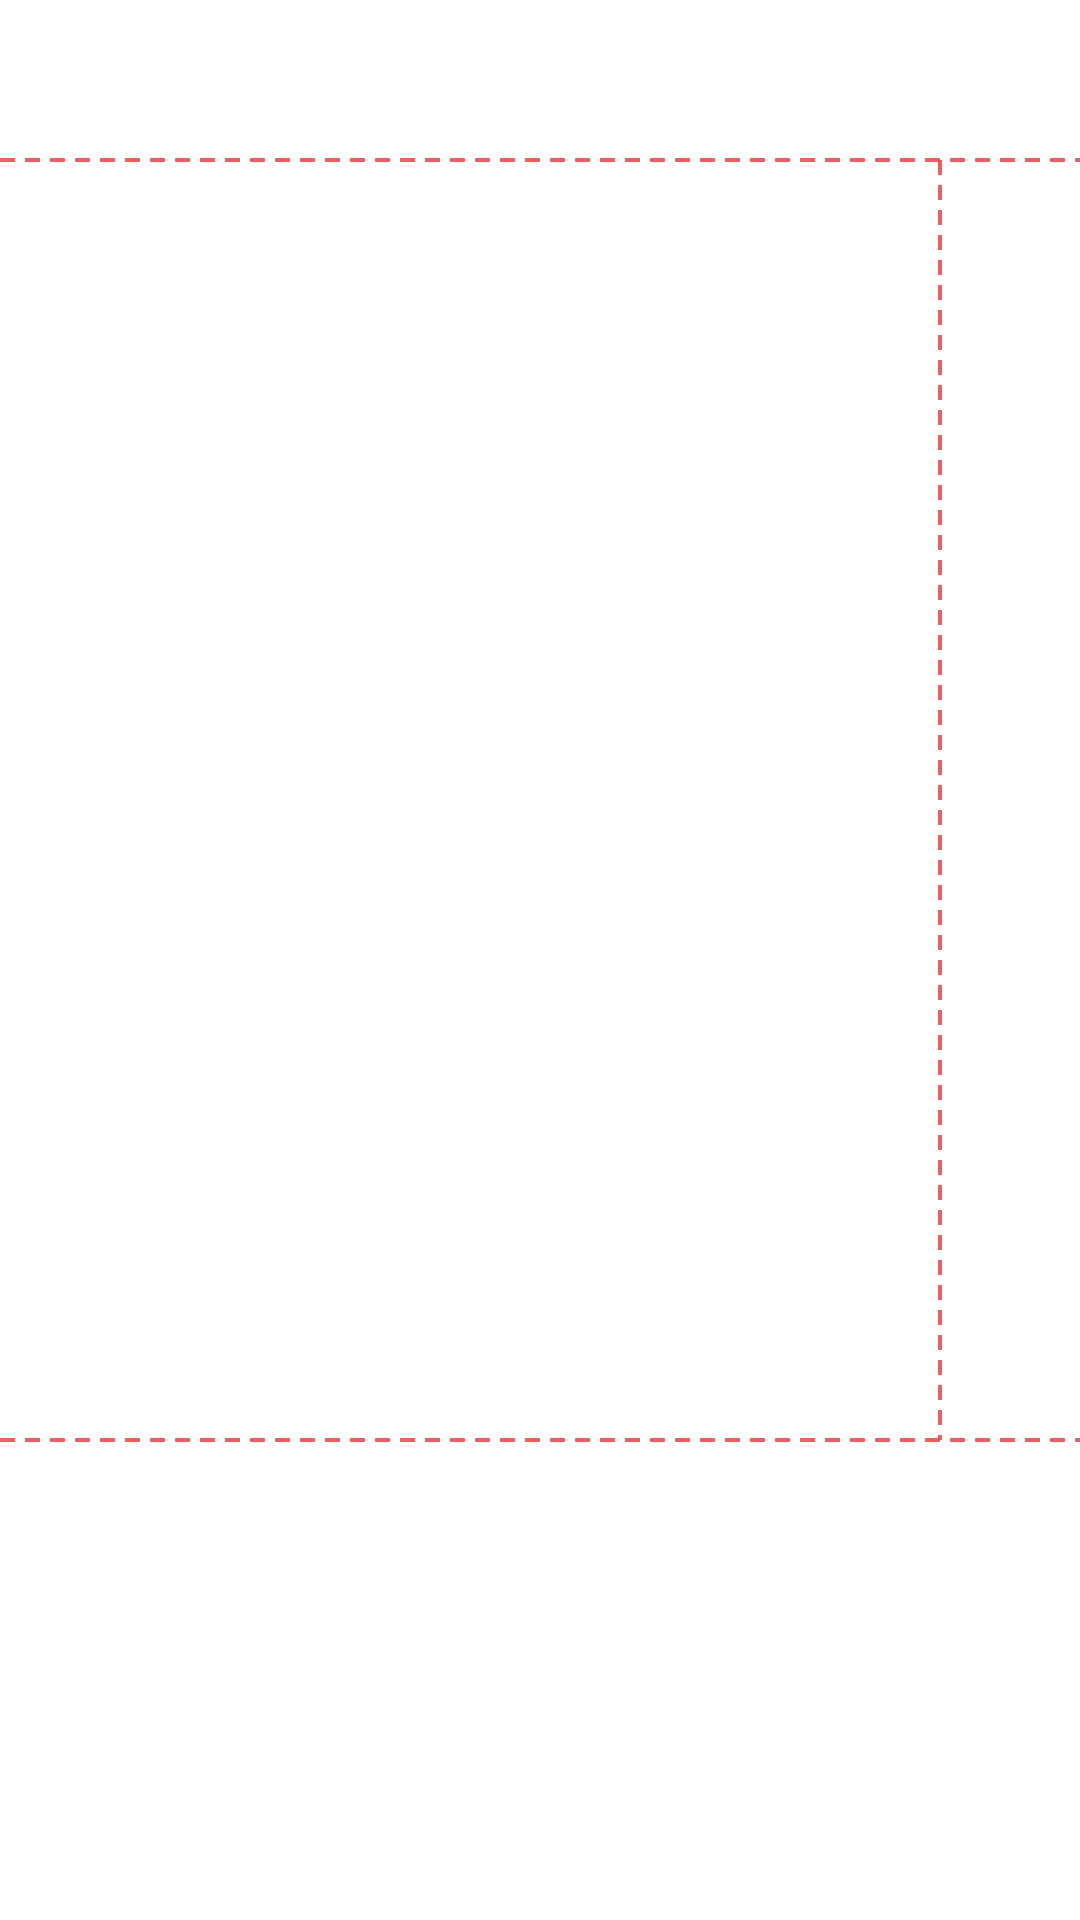
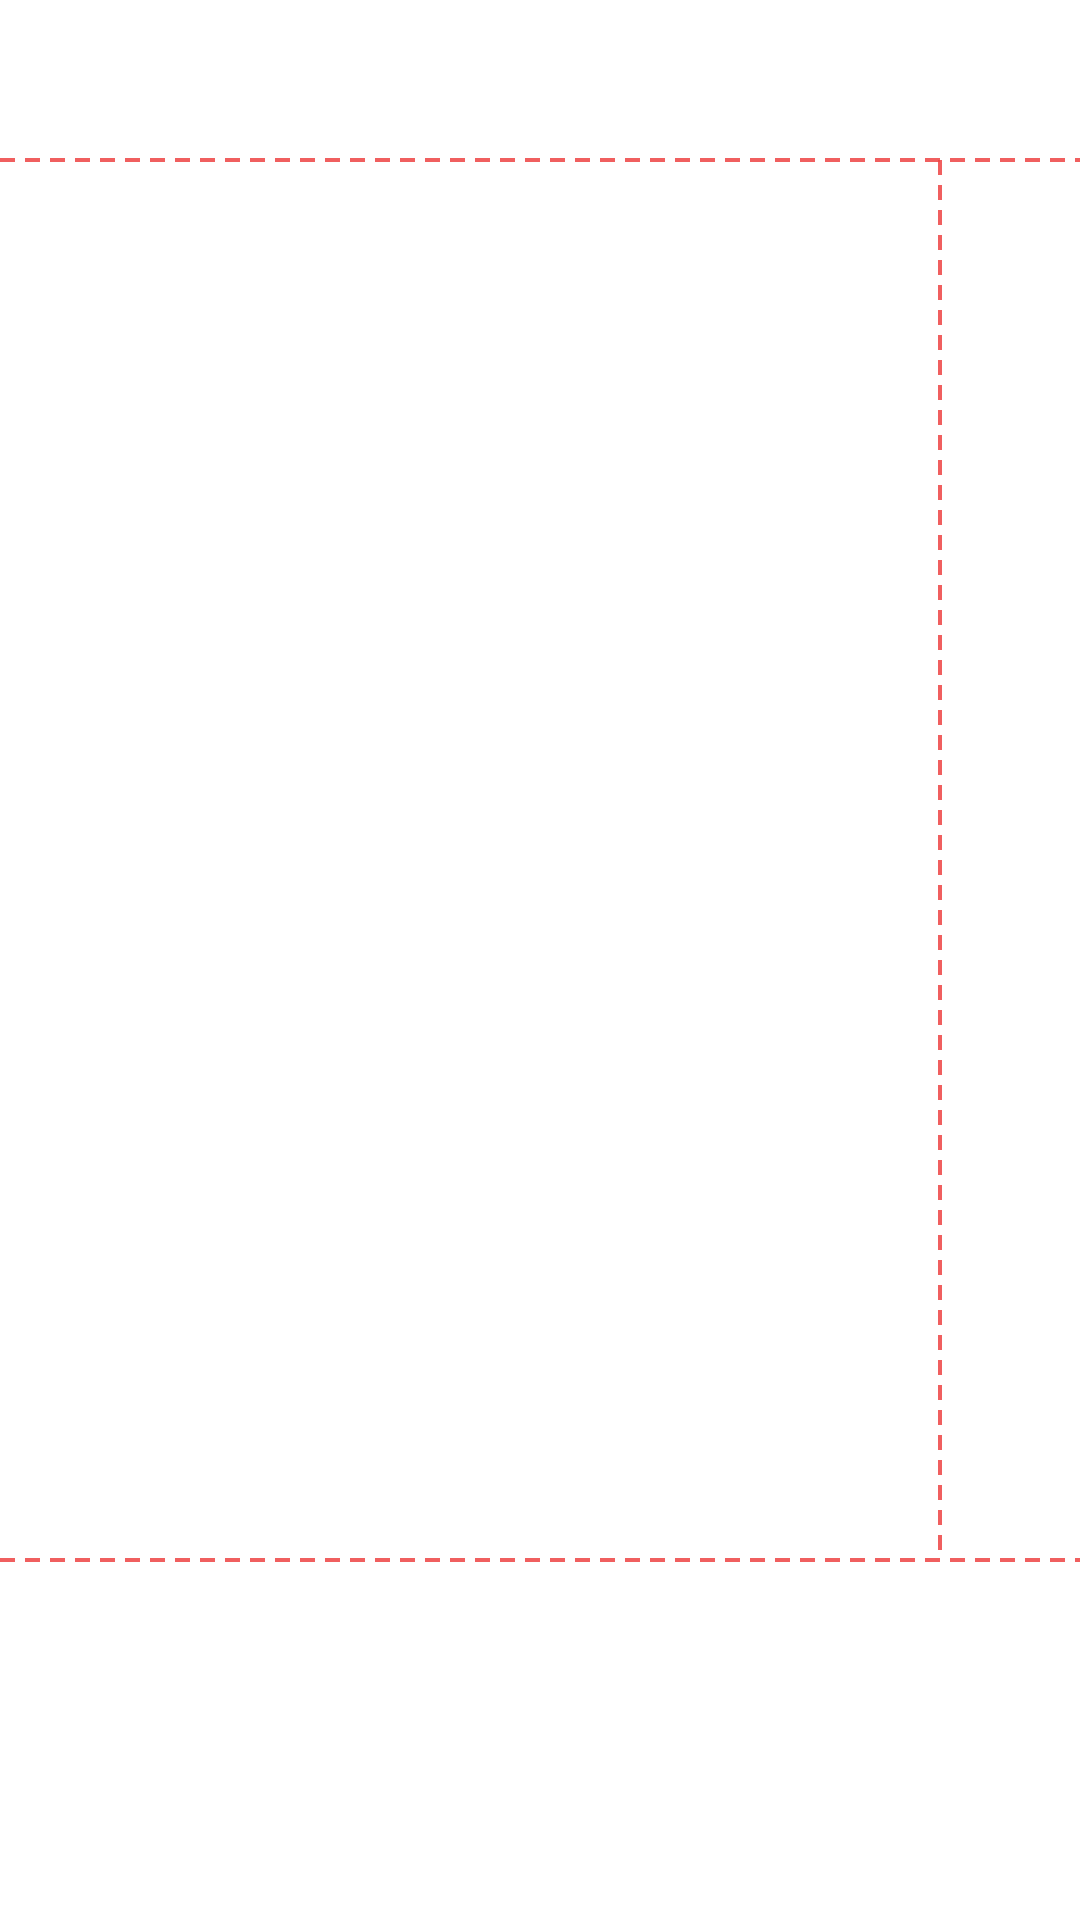
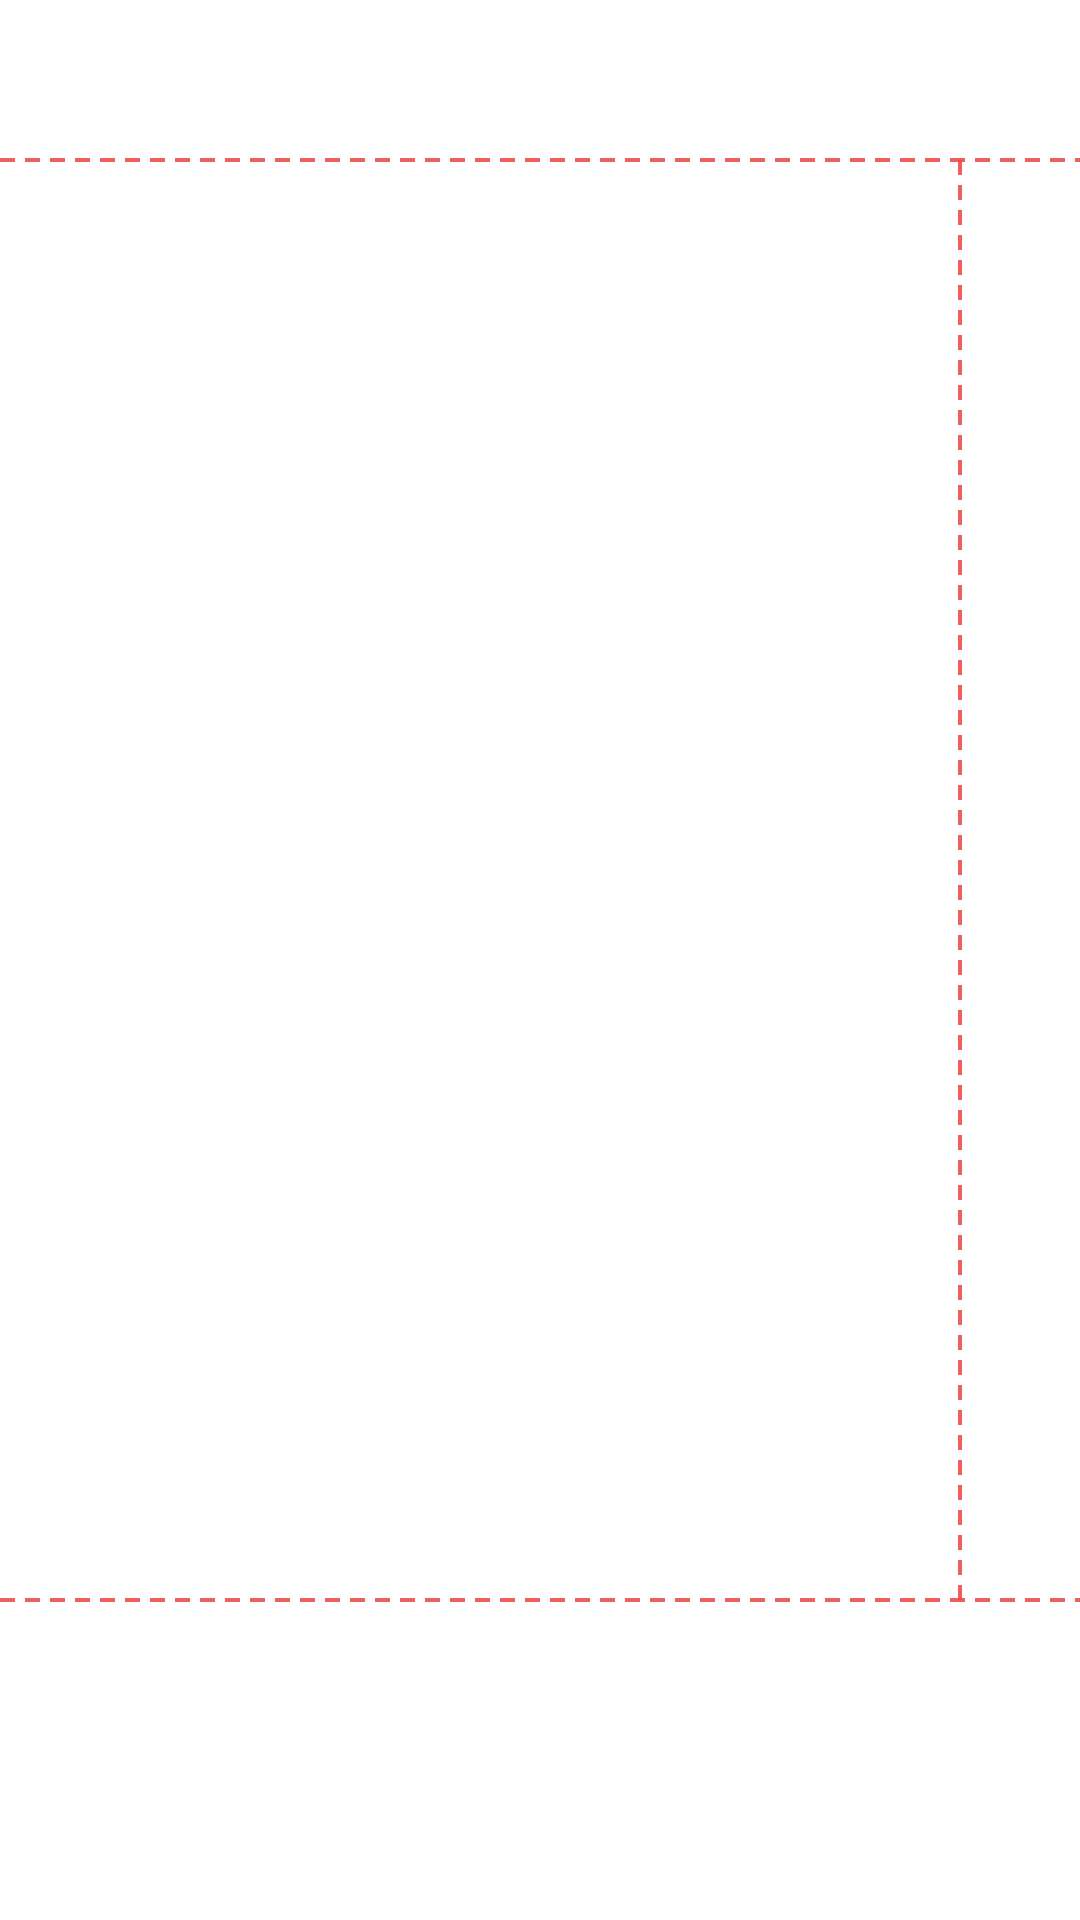
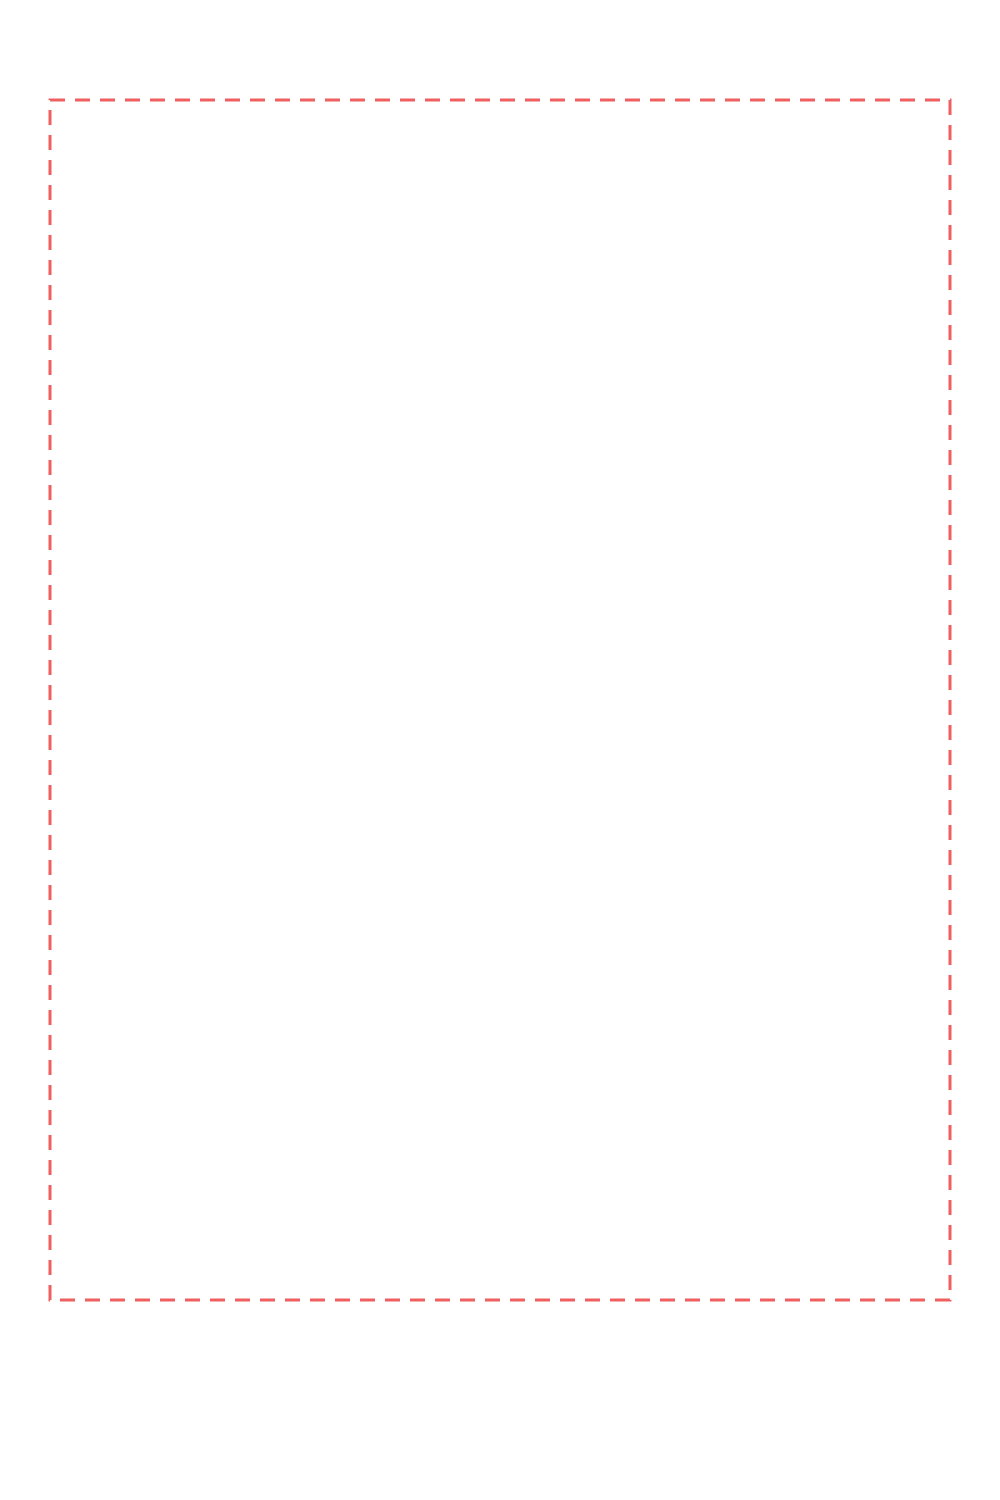

Preview Before You Download
1. Select Platform
2. Upload Asset
Images: PNG, JPG, WebP · Videos: MP4, WebM, MOV
Drag & drop your file here
Images: PNG, JPG, WebP
Videos: MP4, WebM, MOV (max 200 MB)
How to Add a Safe Zone Overlay in CapCut
- 1
Download the overlay PNG
Click your platform above to download the transparent PNG. For TikTok content edited in CapCut, download the TikTok safe zone overlay (1080×1920px). For YouTube Shorts, download the YouTube Shorts overlay.
- 2
Import the PNG into CapCut
Open CapCut and start or open your project. Tap the '+' button to add media, then select the downloaded PNG from your device's gallery or files.
- 3
Add as an overlay track
Instead of adding the PNG to the main video track, tap 'Overlay' in the CapCut toolbar. This places the PNG on a separate layer above your video footage rather than replacing it.
- 4
Resize to fill the frame
Pinch to resize the overlay until it fills the entire canvas edge to edge. The PNG background is fully transparent — only the red dashed safe zone boundary lines will appear over your footage.
- 5
Extend to cover the full duration
Drag the overlay clip's end handle to stretch it across the entire length of your video so the safe zone guide is visible while you position text and stickers.
- 6
Position your text inside the lines
Add your text, stickers, and graphics using CapCut's text and sticker tools. Keep everything inside the boundary lines to ensure it stays visible when published.
- 7
Delete the overlay before exporting
Select the overlay track and delete it before exporting your final video. The safe zone guide is for reference only — it should not appear in the published content.
Why Use a CapCut Safe Zone Overlay?
CapCut is the most widely used mobile video editor for TikTok and Instagram Reels content, but it does not include built-in safe zone guides. When you add text or stickers in CapCut, there is no visual indication of which areas will be hidden by TikTok's action bar, Instagram's reaction icons, or YouTube Shorts' subscribe button when the video is published.
A CapCut safe zone overlay is a transparent PNG image that you place on a separate overlay track above your footage. The dashed boundary lines show you exactly where each platform's UI elements will appear, so you can position your text and graphics with confidence before the video is exported.
The overlays on this page are generated from the same pixel measurements used by the live safe zone previewer. They match the exact margins documented for each platform — TikTok's 480px bottom margin, Instagram Reels' 380px bottom margin, and YouTube Shorts' 160px right margin — so what you see in CapCut matches what your audience will see on the platform.
CapCut Safe Zone for TikTok vs Instagram Reels
TikTok and Instagram Reels both use the 9:16 format in CapCut, but their safe zone margins differ. TikTok's bottom caption area is larger (480px) than Instagram Reels (380px). If you use CapCut to edit content for both platforms, use the TikTok overlay as your guide — its more conservative margins mean your design will also be safe for Reels. Download both overlays from the pack to switch between them for platform-specific projects.